
Google Tag Manager is a powerful tracking tool that is used by almost all digital marketers. As it allows us to integrate all our tracking needs into one user-friendly interface without constantly implementing various codes on our system.
Not only that, it allows you to add tags, triggers, and variables that can be used to track events, such as button clicks, form submissions, and page views, and send data to Google Analytics and other marketing tools. This can help you to better understand how visitors are interacting with your website, and make data-driven decisions to improve the user experience and increase conversions.
In this blog, I’ll take you through about how to install Google Tag Manager on our website. Let’s jump into the Installation by following the below steps.
Firstly one need open our Google Tag Manager account.
Just in case you haven’t done this, first, you should create a GTM account and a container.
How to create a GTM account
Click on the Create Account button in order to create a new GTM account.
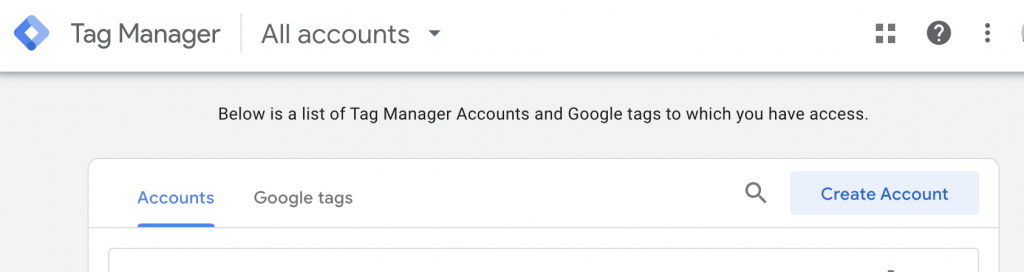
Google Tag Manager (GTM) is made up of accounts and containers. An account is a collection of containers, and a container is a collection of tags, triggers, and variables.
Also it is important to note that, firstly, each container is associated with a single website or mobile app, and you can use multiple containers in a single account. This allows you to manage different tracking and analytics needs for different websites or apps within a single GTM account.
A GTM account works the same as the Google Analytics account, usually, it’s for a company/business/client, while a container is usually for a website or application.
Note: Containers are the snippets that are installed onto our website.
It is always a good practice to use our company name as our Account Name in GTM.
Next, let’s add our country name.
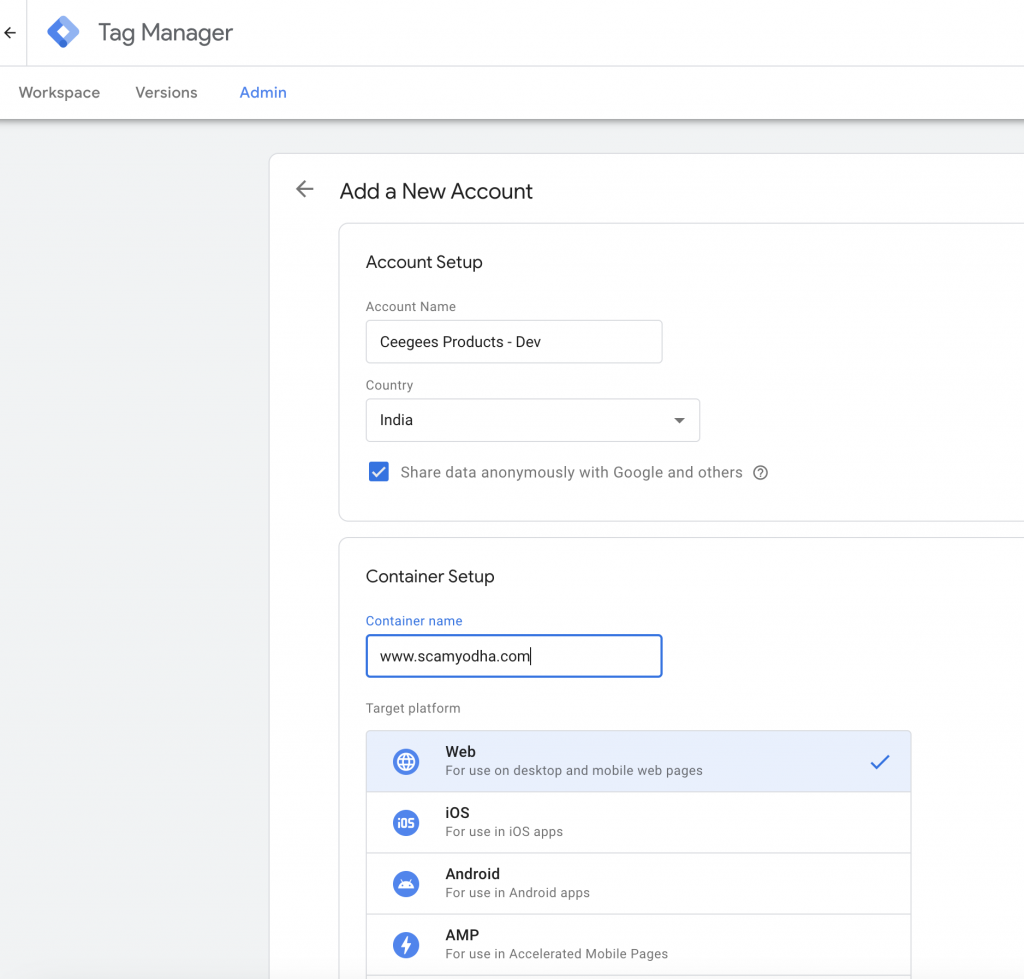
Once the country is added, let’s move on to containers.
Later on moving ahead, you’ll be needing to add our website URL as the Container Name in our case. It isn’t necessary to use the URL for the container name.
Secondly, you’ll need to choose the Target platform which can be anything from Web, iOS, Android, AMP, and Server-side platforms are the available platforms. We’ll choose the Web platform as of now.
Now as a next step, Click on Create.
With this, we have set up the account and the specified container of Google Tag Manager.
Find GTM Snippets
To find the GTM Snippets, firstly, you will need to install the GTM snippets into our website scripts.
Google Tag Manager provides us with the exact code and instructions where to add it to our website.
Now moving ahead with GTM, secondly, click on your GTM ID to access your GTM snippets. The GTM ID would be visible when the Workspace tab is selected (Located to the left of the Preview and Submit Button).
Another way to access would be through Admin -> Install Google Tag Manager
Install GTM Snippets Onto the Website
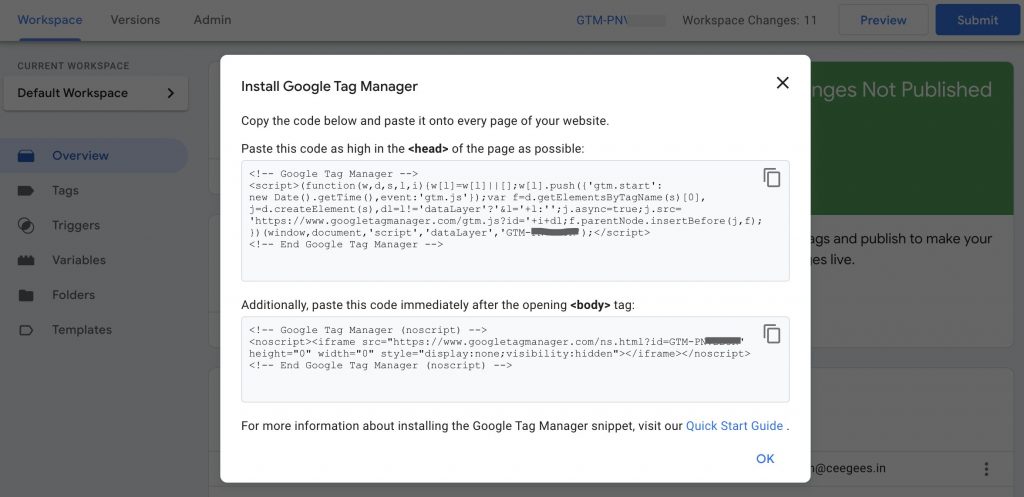
There are two different types of codes in this script. One code is placed in the head section of the script, while the second code is placed in the body section of the script.
The header code should be as high in the code as possible just below the opening head Tag. This code is the key part. It tells your page to load your Google Tag Manager container asynchronously.
The second Google Tag Manager code should be placed immediately after the opening <body> tag. This works as a backup, allowing us to track users without Javascript. The <noscript> tag tells the browser if the user does not have JavaScript enabled, then render an iframe version of the Google Tag Manager Container to the page.
The <noscript> part of the Google Tag Manager code is not required. You’ll need it only if you want to track visitors without enabled JavaScript.
Importance of placing Google Tag Manager in <head> tag
It is highly recommended that we place <script> part of GTM code into <head> of our website, but it is not 100% required.
It’s better for tracking. The higher up in the page the snippet is, the faster it is loaded.
In the older version of Google Tag Manager, it was recommended to place the snippet in the body tag, but this would give a chance to miss users who left our page before the body tag loaded (due to slow page speed).
If our website is pretty heavy, it might take more than a few seconds for Google Tag Manager to start loading in <body>, but in <head> it would be initiated much faster, thus we could catch more visitors and see how they behave.
Please note that the lower our tracking codes are placed in the website’s code, the later they will be launched.
Check if Google Tag Manager is working
After adding the GTM code to our website, we need to make sure whether it is properly configured and installed. Here are a couple of options we can follow.
- Right-click on our website’s background -> choose View page source and find that code (by looking for gtm.js)
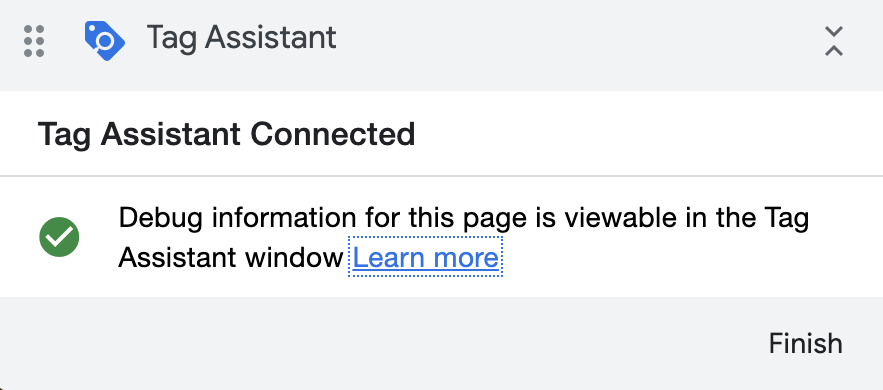
- Click the Preview button in the top right corner of GTM interface, this will open the website in a Tag Assistant connected tab. Check whether a GTM preview interface and debug panel appeared at the bottom of the screen.
Conclusion
If the above check is successful we could conclude that we have successfully installed GTM onto our website. Hope the above information is good enough to get started and know more on GTM. Please comment on your thoughts.
To track custom data we need to use Data Layer. When GTM code is placed in our website It automatically creates a Data Layer. It is like a virtual layer to our website which contains various data points. With its help, GTM is able to read, push and transfer data between our website and tracking tools. Lets learn more about Data Layers later.
Lead Engineer at Ceegees Software Solutions Pvt Ltd